Private Email account setup in Outlook for Android
This guide provides instructions on how to set up Namecheap Private Email mailbox in Outlook on an android device.
In case you have Business/Business Office subscription, you can add your Private Email mailbox as Exchange (ActiveSync) account using this guide.
NOTE: before setting the email account, double-check that your domain has the correct Private Email DNS records and the mailbox is created.
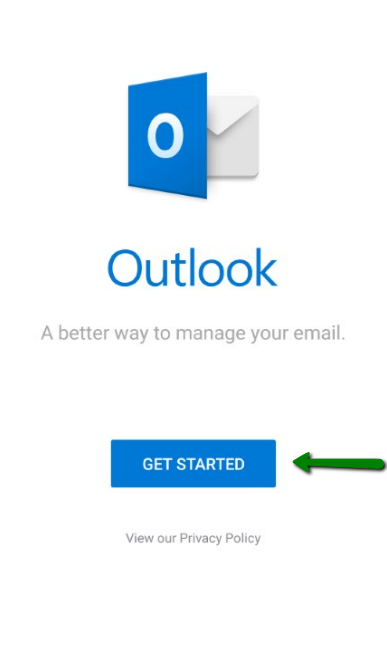
1. Open Outlook on your device.
2. In case it is your first account, press Get Started, and type in the email address:
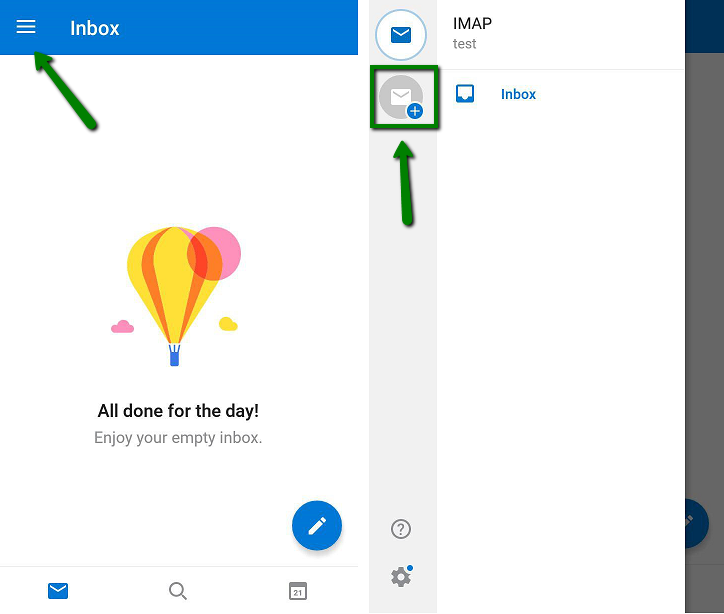
If you already have an email account added to Outlook, press Settings in the upper left corner and select the Add Account icon:
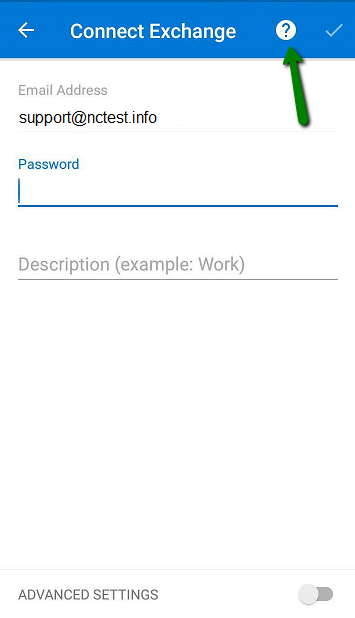
3. Type the full email address of the account you want to add (we use [email protected] as an example) and press Continue:

You can change the account type by going to the question mark (?) icon at the top right corner >> Change account provider >> IMAP:
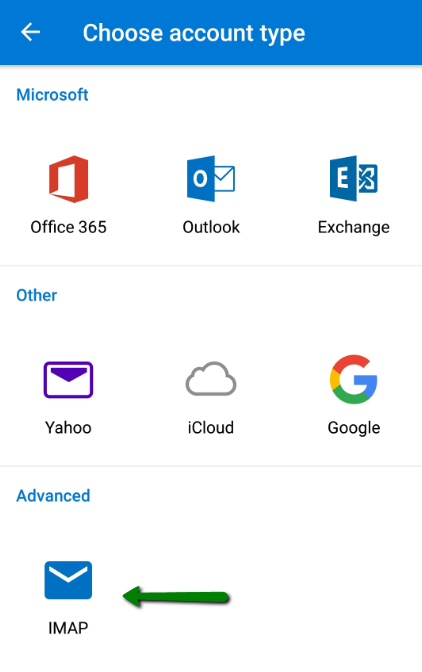
NOTE: Outlook for Android doesn’t support POP3 accounts.
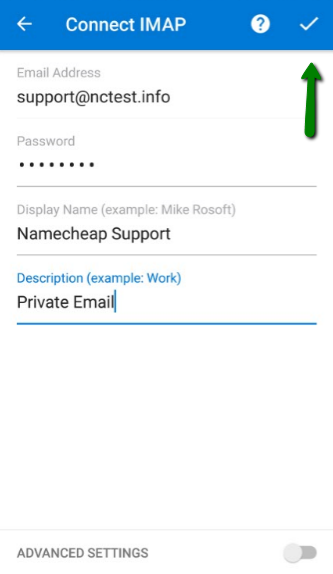
5. Fill in the required details:
- Password: the password for the email account;
- Display Name: the recipients will see it as the sender’s name;
- Description: the description of the email account. Only you will see it.
Private Email uses autodiscover for the fast and convenient way to set up your mailboxes in email clients.
Once filled, click on the Done button in the upper right corner:
If for some reason the automatic setup failed, it is possible to type the settings manually.
Go back to the step 3, double-check the name of your mailbox and proceed to step 5, click Advanced Settingsand fill in the required details:
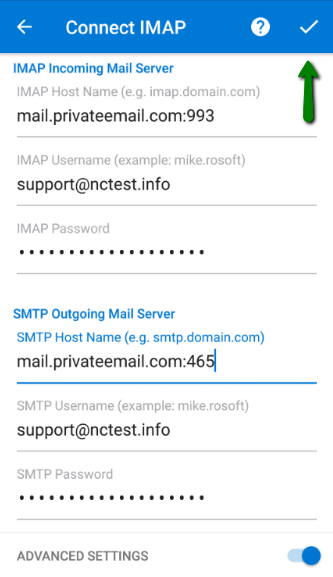
IMAP Incoming Mail Server:
- IMAP Host Name: mail.privateemail.com:993 for SSL (or mail.privateemail.com:143 for TLS/STARTTLS)
- IMAP Username: the same as the name of your mailbox
- IMAP Password: password for the mailbox.
SMTP Outgoing Mail Server:
- SMTP Host Name: mail.privateemail.com:465 for SSL (or mail.privateemail.com:587 for TLS/STARTTLS);
- SMTP Username: the same as the name of your mailbox
- SMTP Password: password for the mailbox.
Double-check all the settings, then press Done in the upper right corner.
6. The setup is finished. Now you can start managing your Private Email account in Outlook:

That’s it!